Objectives
In this lab, you will explore the Eclipse IDE and use the main method as the starting point for your applications. You will also move the BlueJ Shop project into Eclipse format.
Installing Eclipse
- The instructions for installing Eclipse on your own laptop are presented here.
Downloading Eclipse
Eclipse can be downloaded from http://www.eclipse.org/downloads/eclipse-packages/. It is free.
Scroll down and choose the build...Eclipse IDE for Java Developers:

- Select a mirror of your choice:
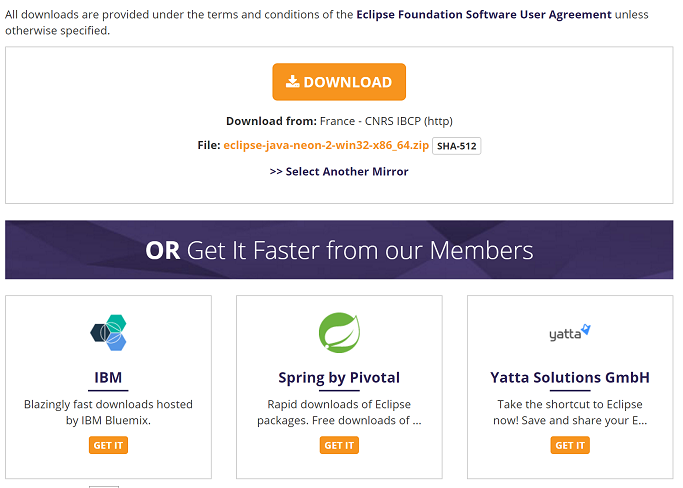
A zip file will start to download. When this file has downloaded:
Decide where you are going to store your Programming applications on your computer. It is a good idea to create a folder called dev on your C drive and store all your applications in there.
Unzip the downloaded zip file to your chosen location. Note: if you don’t have unzipping software, 7-zip is a good choice and can be downloaded from here: http://www.7-zip.org/.
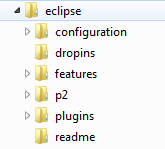
You should now have a folder structure resembling this picture:
Launching Eclipse
Navigate to the folder where you installed the Eclipse application.
You should see a list of files and folders similiar to the picture below:
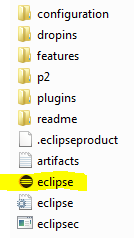
Double click in the Eclipse application (highlighted).
Eclipse should launch and you will be asked to select the location of your workspace.
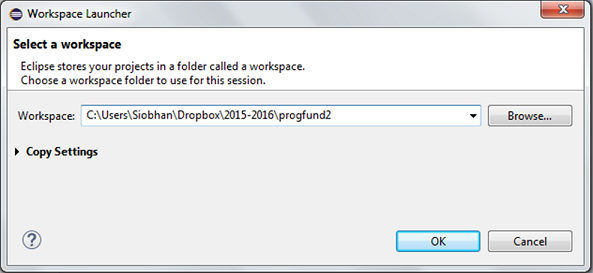
From here on in, you can manage your workspace folders without direction from us. On your own laptop, choose a location that you find convenient as your Eclipse workspace. It is important that you keep your workspace and the location where you installed the Eclipse software separate.
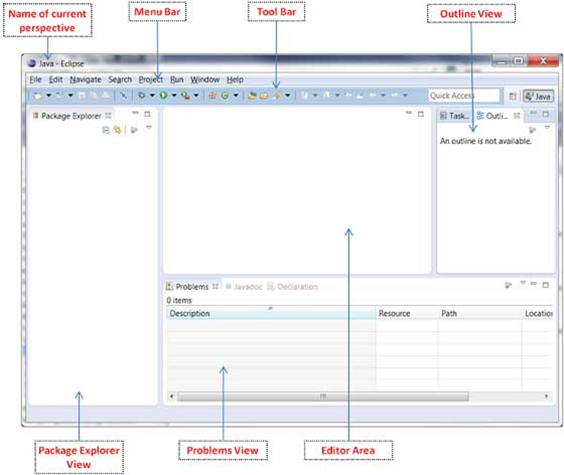
Eclipse will now open. Click x to close the welcome page. You will have a view similar to this:
HelloWorld App
Now that you have successfully launched Eclipse, we will write a basic "Hello World" app to test it.
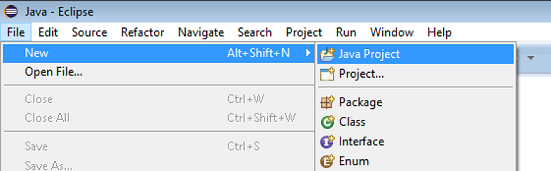
Select the following options to create a new Java Project:
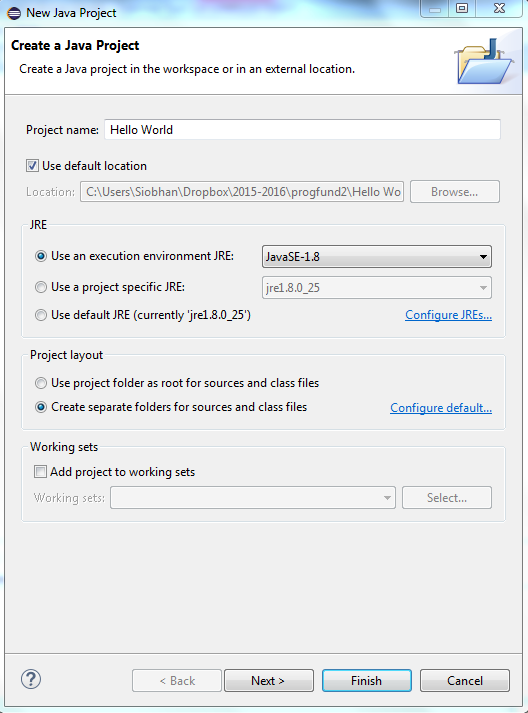
- When the New Java Project window appear, enter the project name Hello World and click the Finish button.
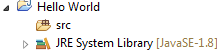
- You should have a directory structure like this:
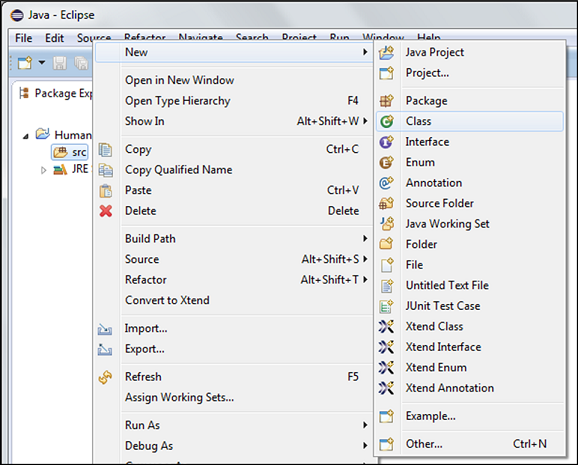
- To create a new Java class, right click on the src folder and select New followed by Class from the context menu.
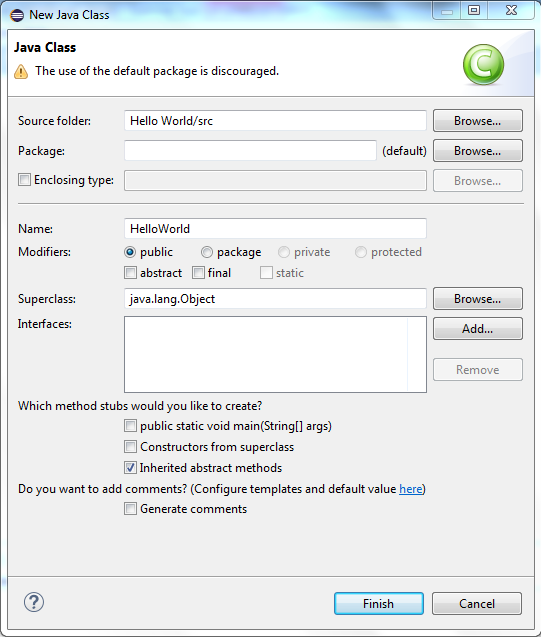
- When the New Java Class window appear, enter the class name HelloWorld and click the Finish button.
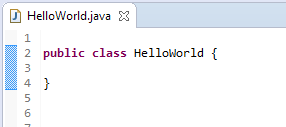
- The following class will be created:
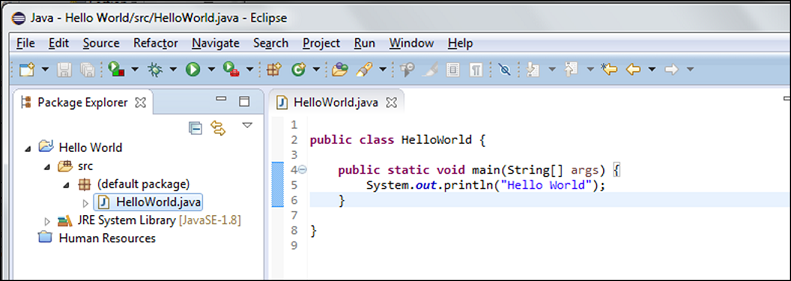
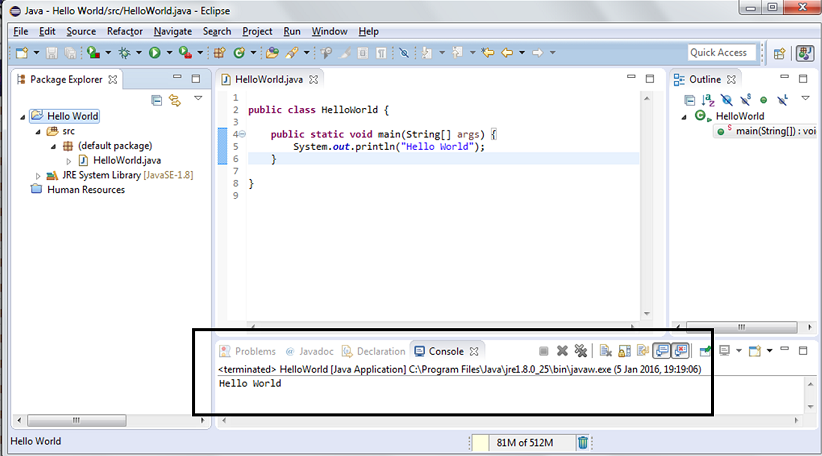
- Add a main method to this class that simply prints the text Hello World to the console:
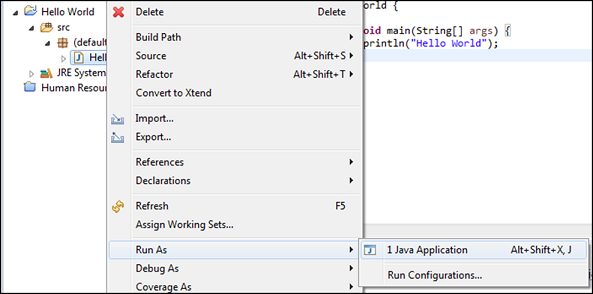
- To run your Java program right click on the "HelloWorld" class (it contains the main method) and select Run AS followed by Java Application from the context menu.
- The Console window should appear and the text Hello World should be displayed.
ShopV2.0
In this step, we will convert our BlueJ menu-driven console based app into Eclipse format.
- In Eclipse, create a new Java Project called ShopV2.0.
View existing BlueJ Shop Project
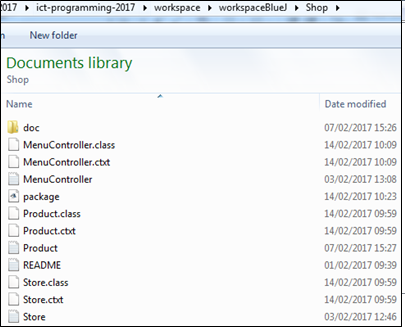
In your file explorer, open the the folder where your existing BlueJ Shop project is stored. If you don't have a copy of it in your local file system, you can download it from here.
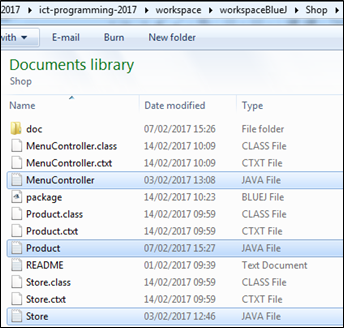
Your BlueJ Shop folder structure should look like this:
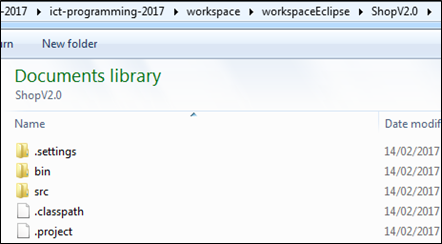
View new Eclipse ShopV2.0 Project
- In another file explorer, open the the folder where your new Eclipse ShopV2.0 project is stored. The folder structure should look like this:
Copy .java files from Bluej project to Eclipse project
Select the three .java files in your BlueJ project (hold down the CTRL key and click on each file in turn).
Right click on one of the selected files and choose copy.
- Paste these files into the /src folder in your new ShopV2.0 Eclipse project.

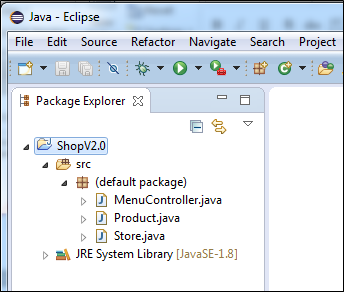
- Return to Eclipse and refresh (F5) the project. It should look like this:
Test the App
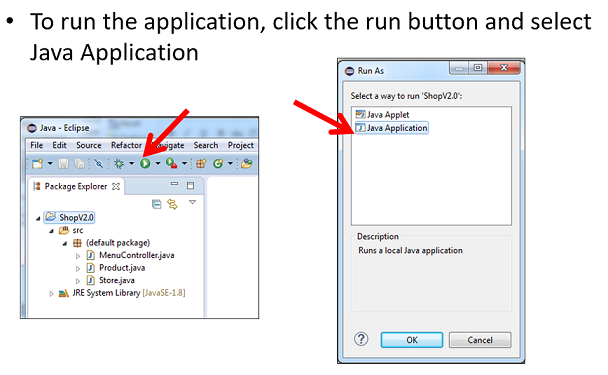
- Run the app:
- It will result in an error:

Add the main method to MenuController
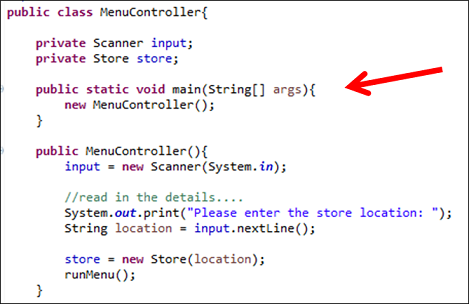
- Add the missing main method to the MenuController class:
Test the App Again
- Run the app again. You should now see the app started in your console:

ShopV2.0
- This version of the Shop project presents the user with the following menu:
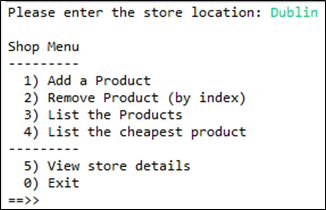
From the CRUD perspective, in relation to a product, the user can:
- (C)reate i.e. add a product.
- (R)etrieve i.e. list all products and list cheapest product.
- (U)pdate - NOT IMPLEMENTED.
- (D)elete i.e. delete a product.
Re-familiarise yourself with the code behind the C, R and D operations.